Small bathrooms pose challenges but also opportunities to create a space that feels larger, more functional, and stylish. With the right layout, smart storage, and careful material choices, you can maximize every inch without sacrificing comfort. This guide shares expert tips to turn a compact bath into a welcoming oasis.
Why small bathrooms benefit from clever design
In small bathrooms the goal is to reduce visual clutter and increase usable floor area. Prioritizing vertical storage, wall mounted fixtures, and transparent materials helps the eye travel across the room rather than stopping at bulky elements. A well planned plan reduces maintenance while improving accessibility for daily routines.
Key design principles
- Maximize vertical space with tall storage and wall mounted vanity
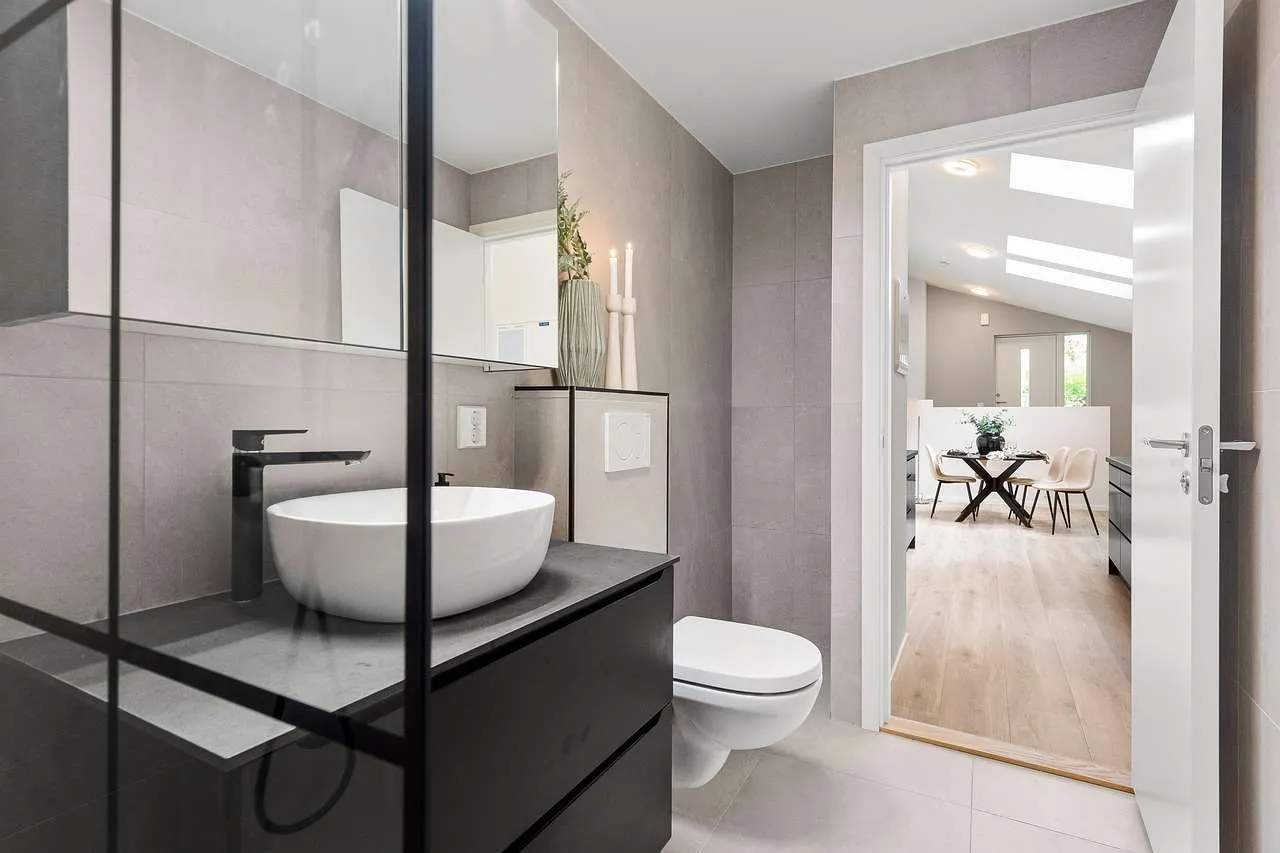
- Choose glass instead of shower doors to create openness
- Use light colors and large format tiles to extend the perceived space
Smart color palettes that visually expand the room
Light shades such as cool whites, pale grays or beige create a clean backdrop. Using a single color family with subtle variations minimizes boundary lines and makes the room appear taller. Mirror a bit of the wall with a large mirror or mirrored cabinet to bounce daylight and artificial light deeper into the space.
Storage solutions that free floor space
Recessed niches in the shower or wall cavity keep toiletries within reach without crowding surfaces. A tall slim medicine cabinet, a wall mounted vanity, and vanity with integrated storage help maintain a neat surface. Over the toilet storage and pullout baskets can be very effective in tiny baths.
Fixtures and fittings that maximize space
Opt for a wall hung toilet and a compact basin. A corner sink or a narrow vanity reduces footprint. Frameless glass shower enclosures visually expand the space better than enclosed units. When possible choose a compact shower size to allow comfortable movement.
Layout ideas and design options
Consider a walk in shower with a clear glass panel instead of a door. Pocket doors save swing space, while a curbless shower improves accessibility. For a slightly larger room, a linear drain shower and a floating vanity create a calm, continuous line across the floor.
Comparison of layout options for tiny baths
| Option | Pros | Cons |
|---|---|---|
| Walk in shower with glass panel | Feels open; easy cleaning; accessible | Requires water containment; may need adequate water pressure |
| Compact tub and shower combo | All in one; familiar routine | Limited space for movement; not ideal for quick showers |
| Wet room style | Maximum openness; minimal partitions | Requires careful moisture management and ventilation |
Lighting and ventilation
Layered lighting combining task and ambient options prevents shadows that shrink a space. Use a bright ceiling light complemented by vanity lighting. Natural daylight if possible helps expand the room while a quiet efficient ventilation system reduces moisture and mold risk.
Materials finishes and maintenance
Choose durable materials that withstand humidity. Large format tiles with minimal grout lines are easier to clean. Porcelain or ceramic are reliable choices for floors and walls. Satin or brushed metal fixtures hide fingerprints better than high gloss. Use sealants on grout and consider anti mold options in sealing lines.
Budget tips and ongoing care
Plan in phases if needed and prioritize key elements such as a good shower enclosure and storage. Reuse or refurbish existing fixtures where possible. Regular cleaning schedule and proper ventilation reduce long term upkeep and preserve value.
Style ideas and finish touches
Finish hardware in chrome, brushed nickel or matte black to create contrast with light walls. Add a large mirror, a pop of color in towels or accessories, and a slim plant to soften edges. Minimalism with a few well chosen items keeps the space calm yet inviting.
Summary: By combining smart storage, light colors, compact fixtures, and thoughtful layout, you maximize space, comfort, and value in any small bathroom.
